Clover is forgiving about a lot of things. It copes with poor fertility, dry spells and a relaxed mowing regime better than most lawn grasses. What it will not tolerate is badly acid soil. White clover depends on a partnership with rhizobia bacteria in root nodules to pull nitrogen out of the air, and those bacteria shut up shop when the soil turns sour. Get the pH wrong and you end up with thin, yellowing patches that never knit together, however much you water and feed them.
The good news is that a pH test costs very little and takes about twenty minutes. Do it before you sow, not after, and you can fix the problem while the ground is still bare and easy to work.
Soil pH is a measure of acidity or alkalinity on a scale from 1 to 14, with 7 being neutral. Most lawn and pasture species do best somewhere between 6.0 and 7.0, and clover sits firmly in that camp. White clover is happiest around 6.0 to 7.0. Red clover, if you are sowing a larger patch or a wildflower mix, prefers the upper half of that range.
Below about 5.5, several things go wrong at once. Phosphorus becomes locked up and unavailable, molybdenum runs short, and nitrogen-fixing bacteria become far less active. You may also see more moss and sorrel, both of which enjoy acid conditions — a useful clue if you have not tested yet. At the other end, above 7.5, clover generally still grows but can struggle to take up iron and manganese, showing up as pale new growth.
A single scoop from one spot tells you almost nothing. Soil varies across a garden, sometimes dramatically — the old vegetable patch, the strip along the fence and the subsoil left behind by a builder can all read differently.
Timing matters too. Wait at least two to three months after liming or feeding before you test, and avoid sampling frozen, bone-dry or waterlogged ground. Early autumn is ideal: the soil is still warm, and there is time to correct anything before a spring sowing.
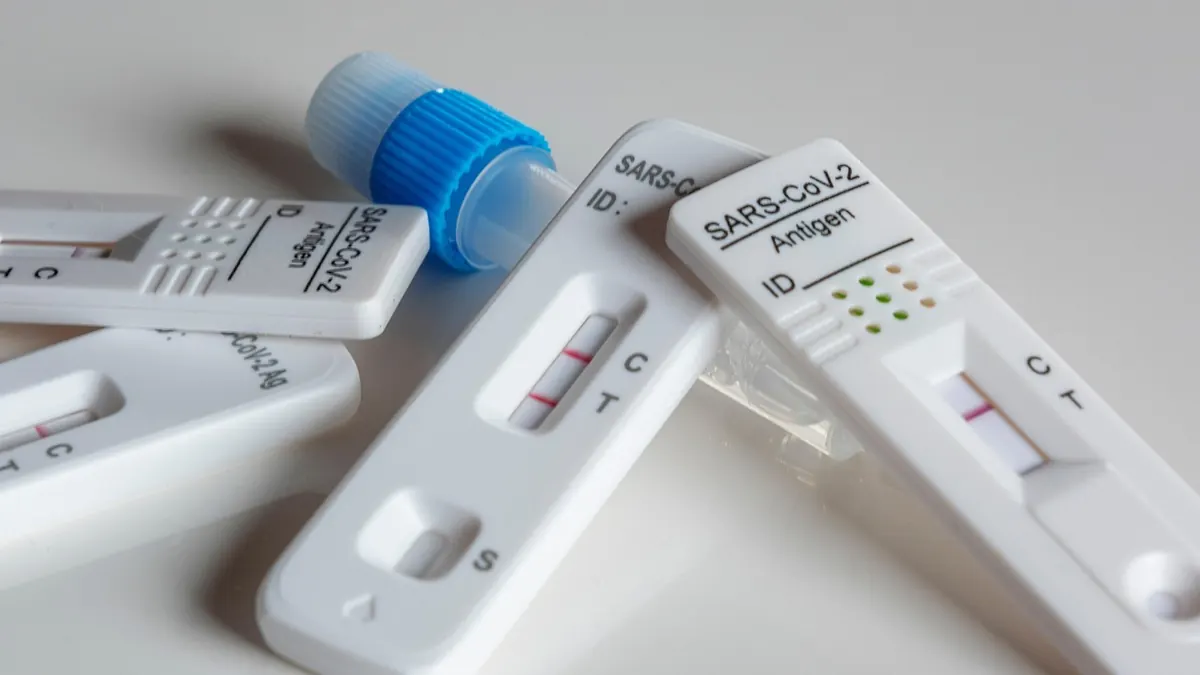
The cheapest option, usually a tube of powder or a strip of indicator paper. Accuracy is roughly plus or minus half a pH point, which is perfectly adequate for deciding whether to lime. Mix the soil with distilled or deionised water — tap water can be alkaline enough to push the result upwards — and read the colour in daylight rather than under a kitchen bulb.
Handheld meters look convenient but the inexpensive ones are notoriously variable. If you already own one, calibrate it if the instructions allow, and test a slurry of soil and distilled water rather than jabbing it into dry ground. Treat the number as a rough guide and confirm anything surprising with a kit or a lab.
For a decent-sized lawn or a mix of clover and grass, a lab test is money well spent. You get an accurate pH plus phosphorus, potassium, magnesium and often soil texture, which tells you how much lime the soil will actually need. Follow their sampling instructions exactly.
Remember that pH is only one part of the picture. Compacted, waterlogged soil will limit clover just as surely as acidity, so deal with drainage and compaction as part of the same job.
Ground limestone or garden lime is the standard fix, and it is slow and gentle. Spread it in autumn, rake or lightly fork it into the top 10cm where you can, and let winter weather and worms work it in. On an existing lawn, top-dressing is fine — it will move down gradually.
Choose dolomitic lime if your test shows low magnesium, and calcitic lime if magnesium is already adequate. Split the dose into two applications a few months apart rather than one heavy hit; over-liming locks up trace elements and upsets soil life. Follow the rate on the packet or the lab's recommendation, as the amount needed depends heavily on whether you have sand, loam or clay. Then wait. Expect three to six months for a real shift, and retest before you sow.
Bringing pH down is slower and less precise. Elemental sulphur works through soil bacteria, so it needs warm, moist conditions and is best applied in early autumn. Acidic organic matter such as composted bark helps a little and improves structure at the same time. Sulphate of ammonia acidifies gradually, but go easy — clover makes its own nitrogen and does not want much extra. Skip aluminium sulphate; it acts fast but is easy to misuse.
If your soil sits on chalk or limestone, be realistic. You will not win that fight. Choose a clover mix suited to alkaline ground, keep it well fed with organic matter, and accept slight yellowing as normal.
Test in late summer, sample properly, and decide on one clear action. Lime in autumn if you need to, then retest in early spring. Sow a small patch first — a square metre is plenty — and give it three or four weeks before committing the whole lawn. Keep a note of dates, readings and what you applied, because next year's test only makes sense alongside this year's. Retest annually for the first couple of years, then every three or four, and you will rarely be caught out. If you are managing a large area or an unusual soil, a lab test and a word with a local agronomist will save you far more than it costs.
Photo: Alexandra_Koch / Pixabay
How clover, thyme and chamomile compare as low-water lawn substitutes for sunny UK gardens, with practical advice on...

A month-by-month plan for turning an ordinary lawn into a year-round larder for bees, butterflies and moths, from...
A practical guide to reliable shade-tolerant plants for north-facing and wooded UK gardens, with planting advice and...

Your hub for clover, lawns, and garden inspiration..
